Initial 3D Printer Escapades
It’s a whole lot later than I had originally planned to post about this. But here we are. My initial escapades with 3D printing since High School.
NOTE: This post has been in progress since June/July. With periodic work being done. Continuity errors may exist. Especially because the original plan was to post this the 15th of July. (Ouch this is late.)
But Why?
Back when I was in High School, my school was fortunate enough to have been given funding to purchase and maintain a 3D Printer just before my Freshman Year. It was a SeeMeCNC Restock Max V2 3D Printer, and I was fascinated. So, I took the classes that would eventually allow me to interact with it.
Eventually, I got permission from the teacher in charge of the printer (printers by this point) to print something I ended up making in Autodesk Inventor. Which at the time was the software we learned in one of his classes. So I took advantage of it. Until I was accused of burning through a kilogram of filament without saying anything. (It was later discovered that I had not. Another student bought a printer and didn’t have enough money for filament. So he simply stuck it in his backpack and walked out.)
Once it was all said and done, beyond the prints I did for the classes, I ended up with two puzzles. One being a Van Der Poel’s Puzzle, at least that’s what it was called on the solution. And a copy of another wooden puzzle I had previously been exposed to.
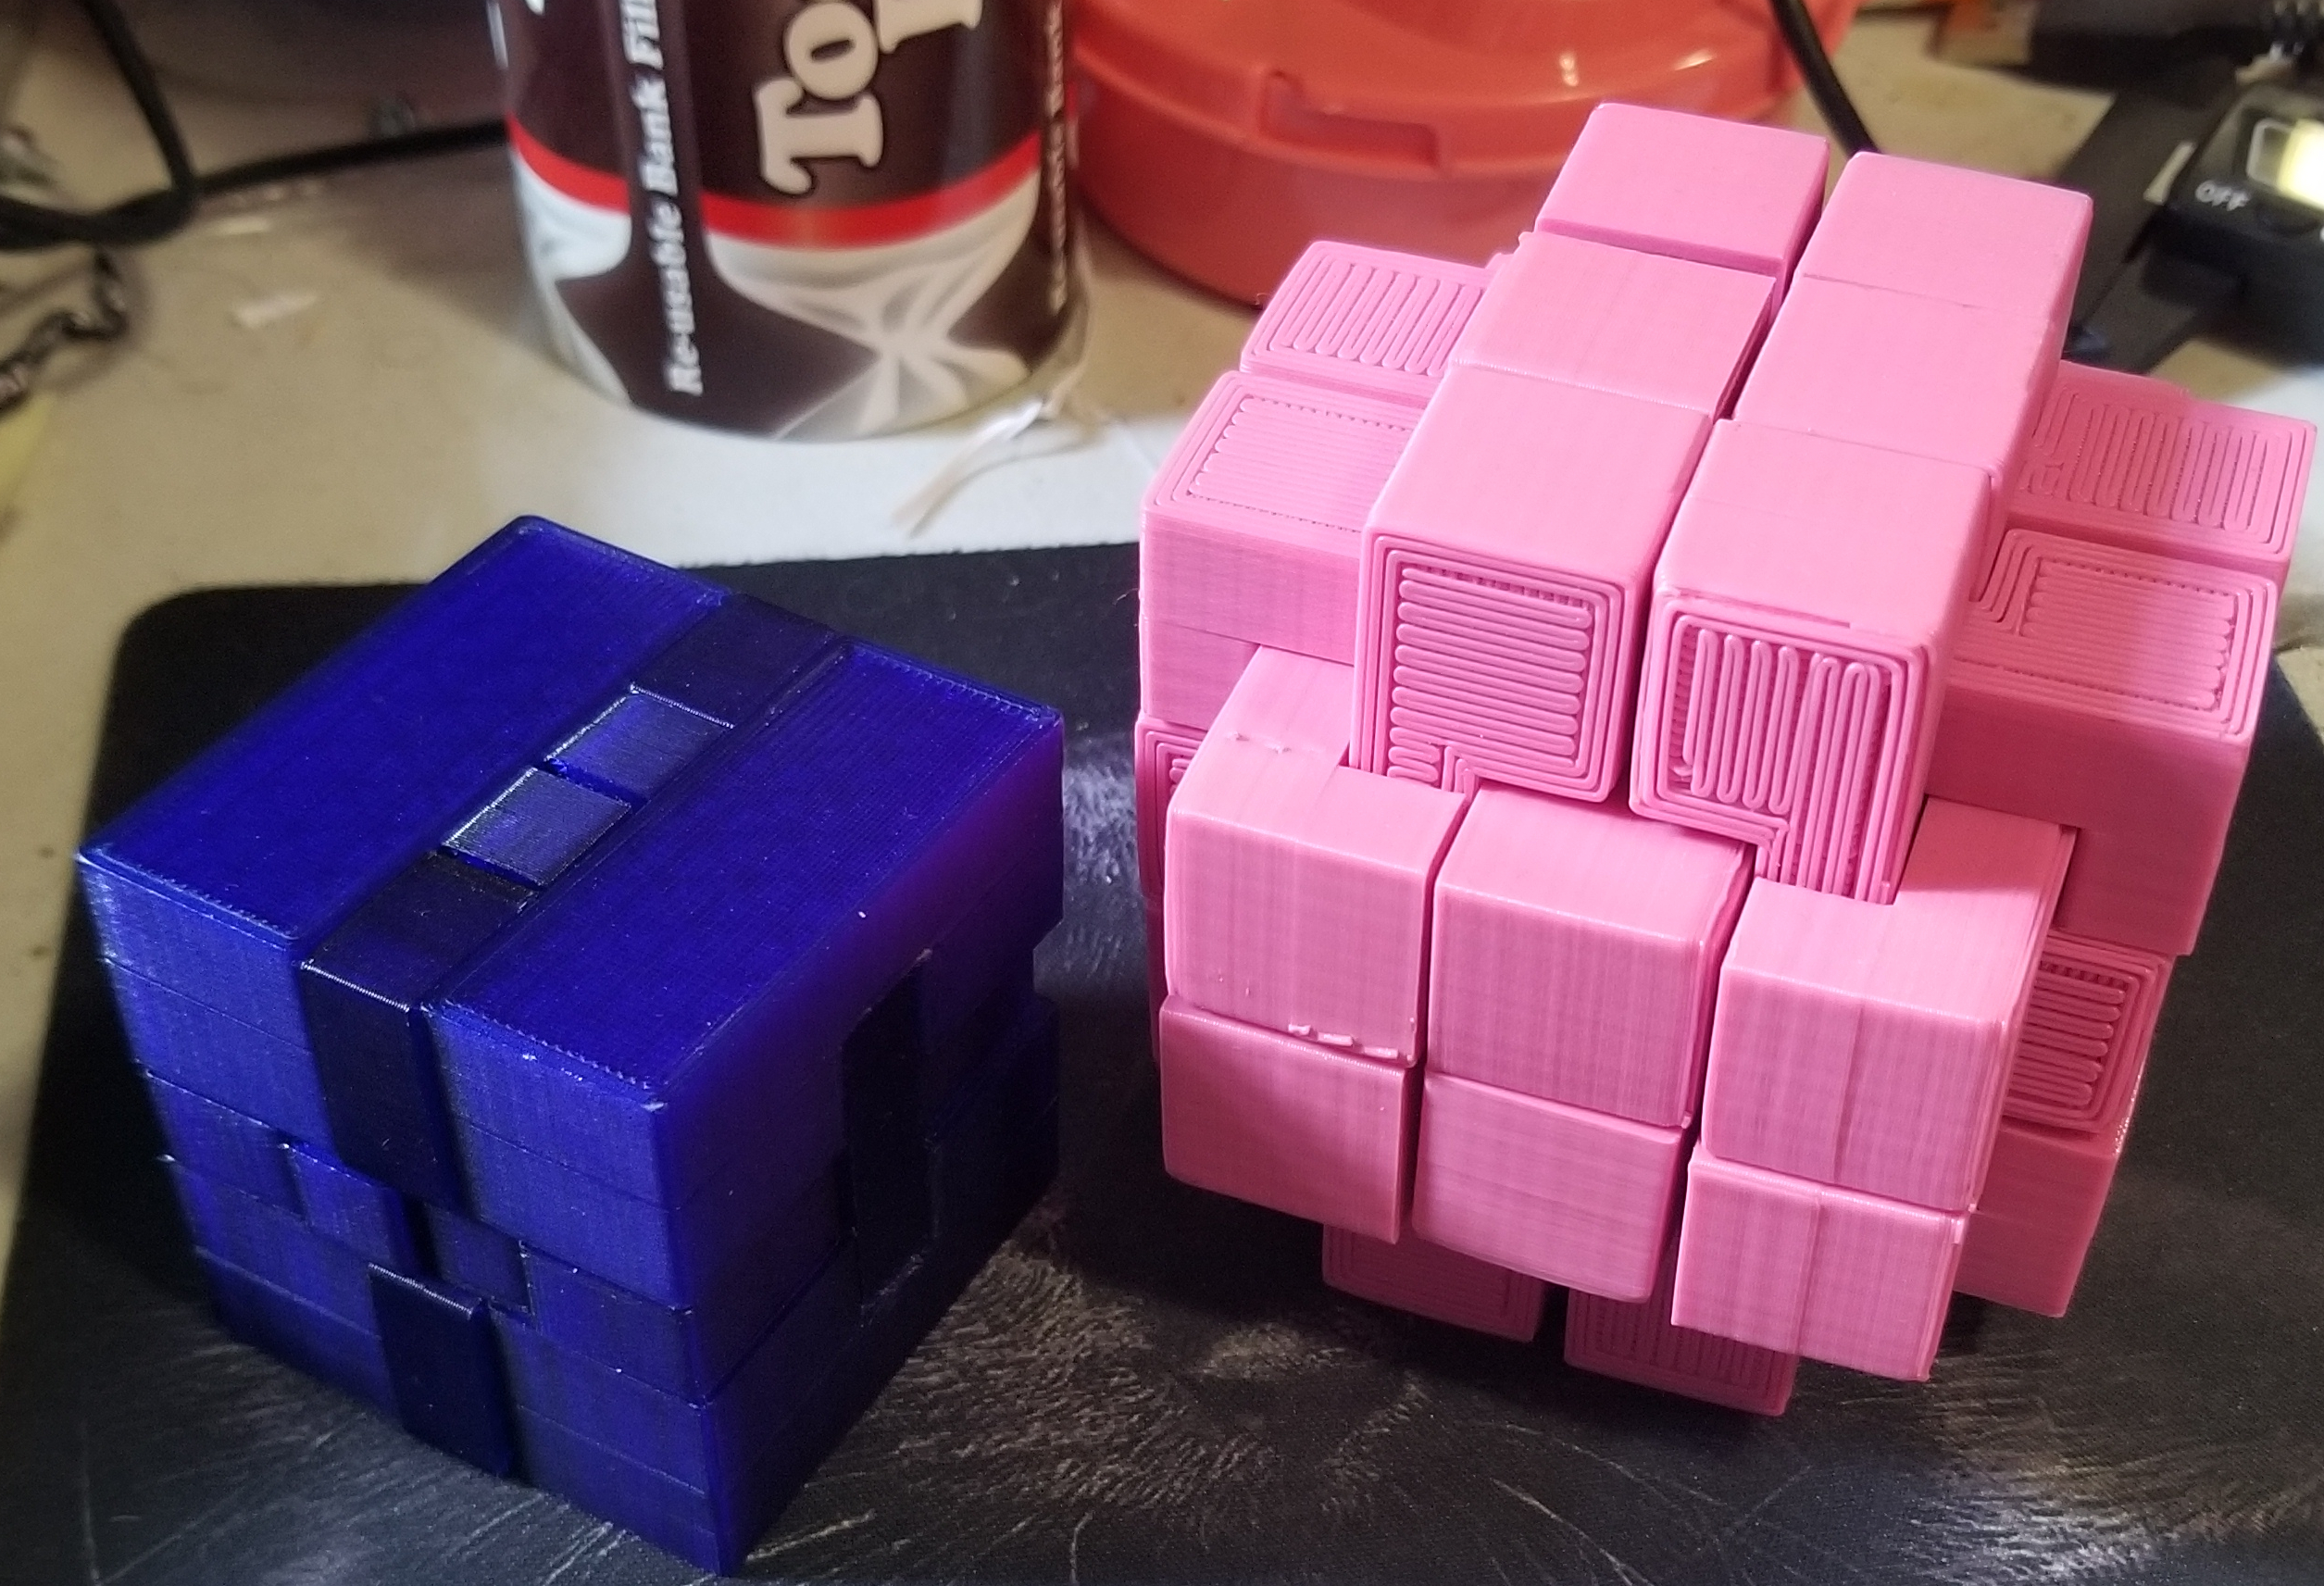
Assembled Puzzles
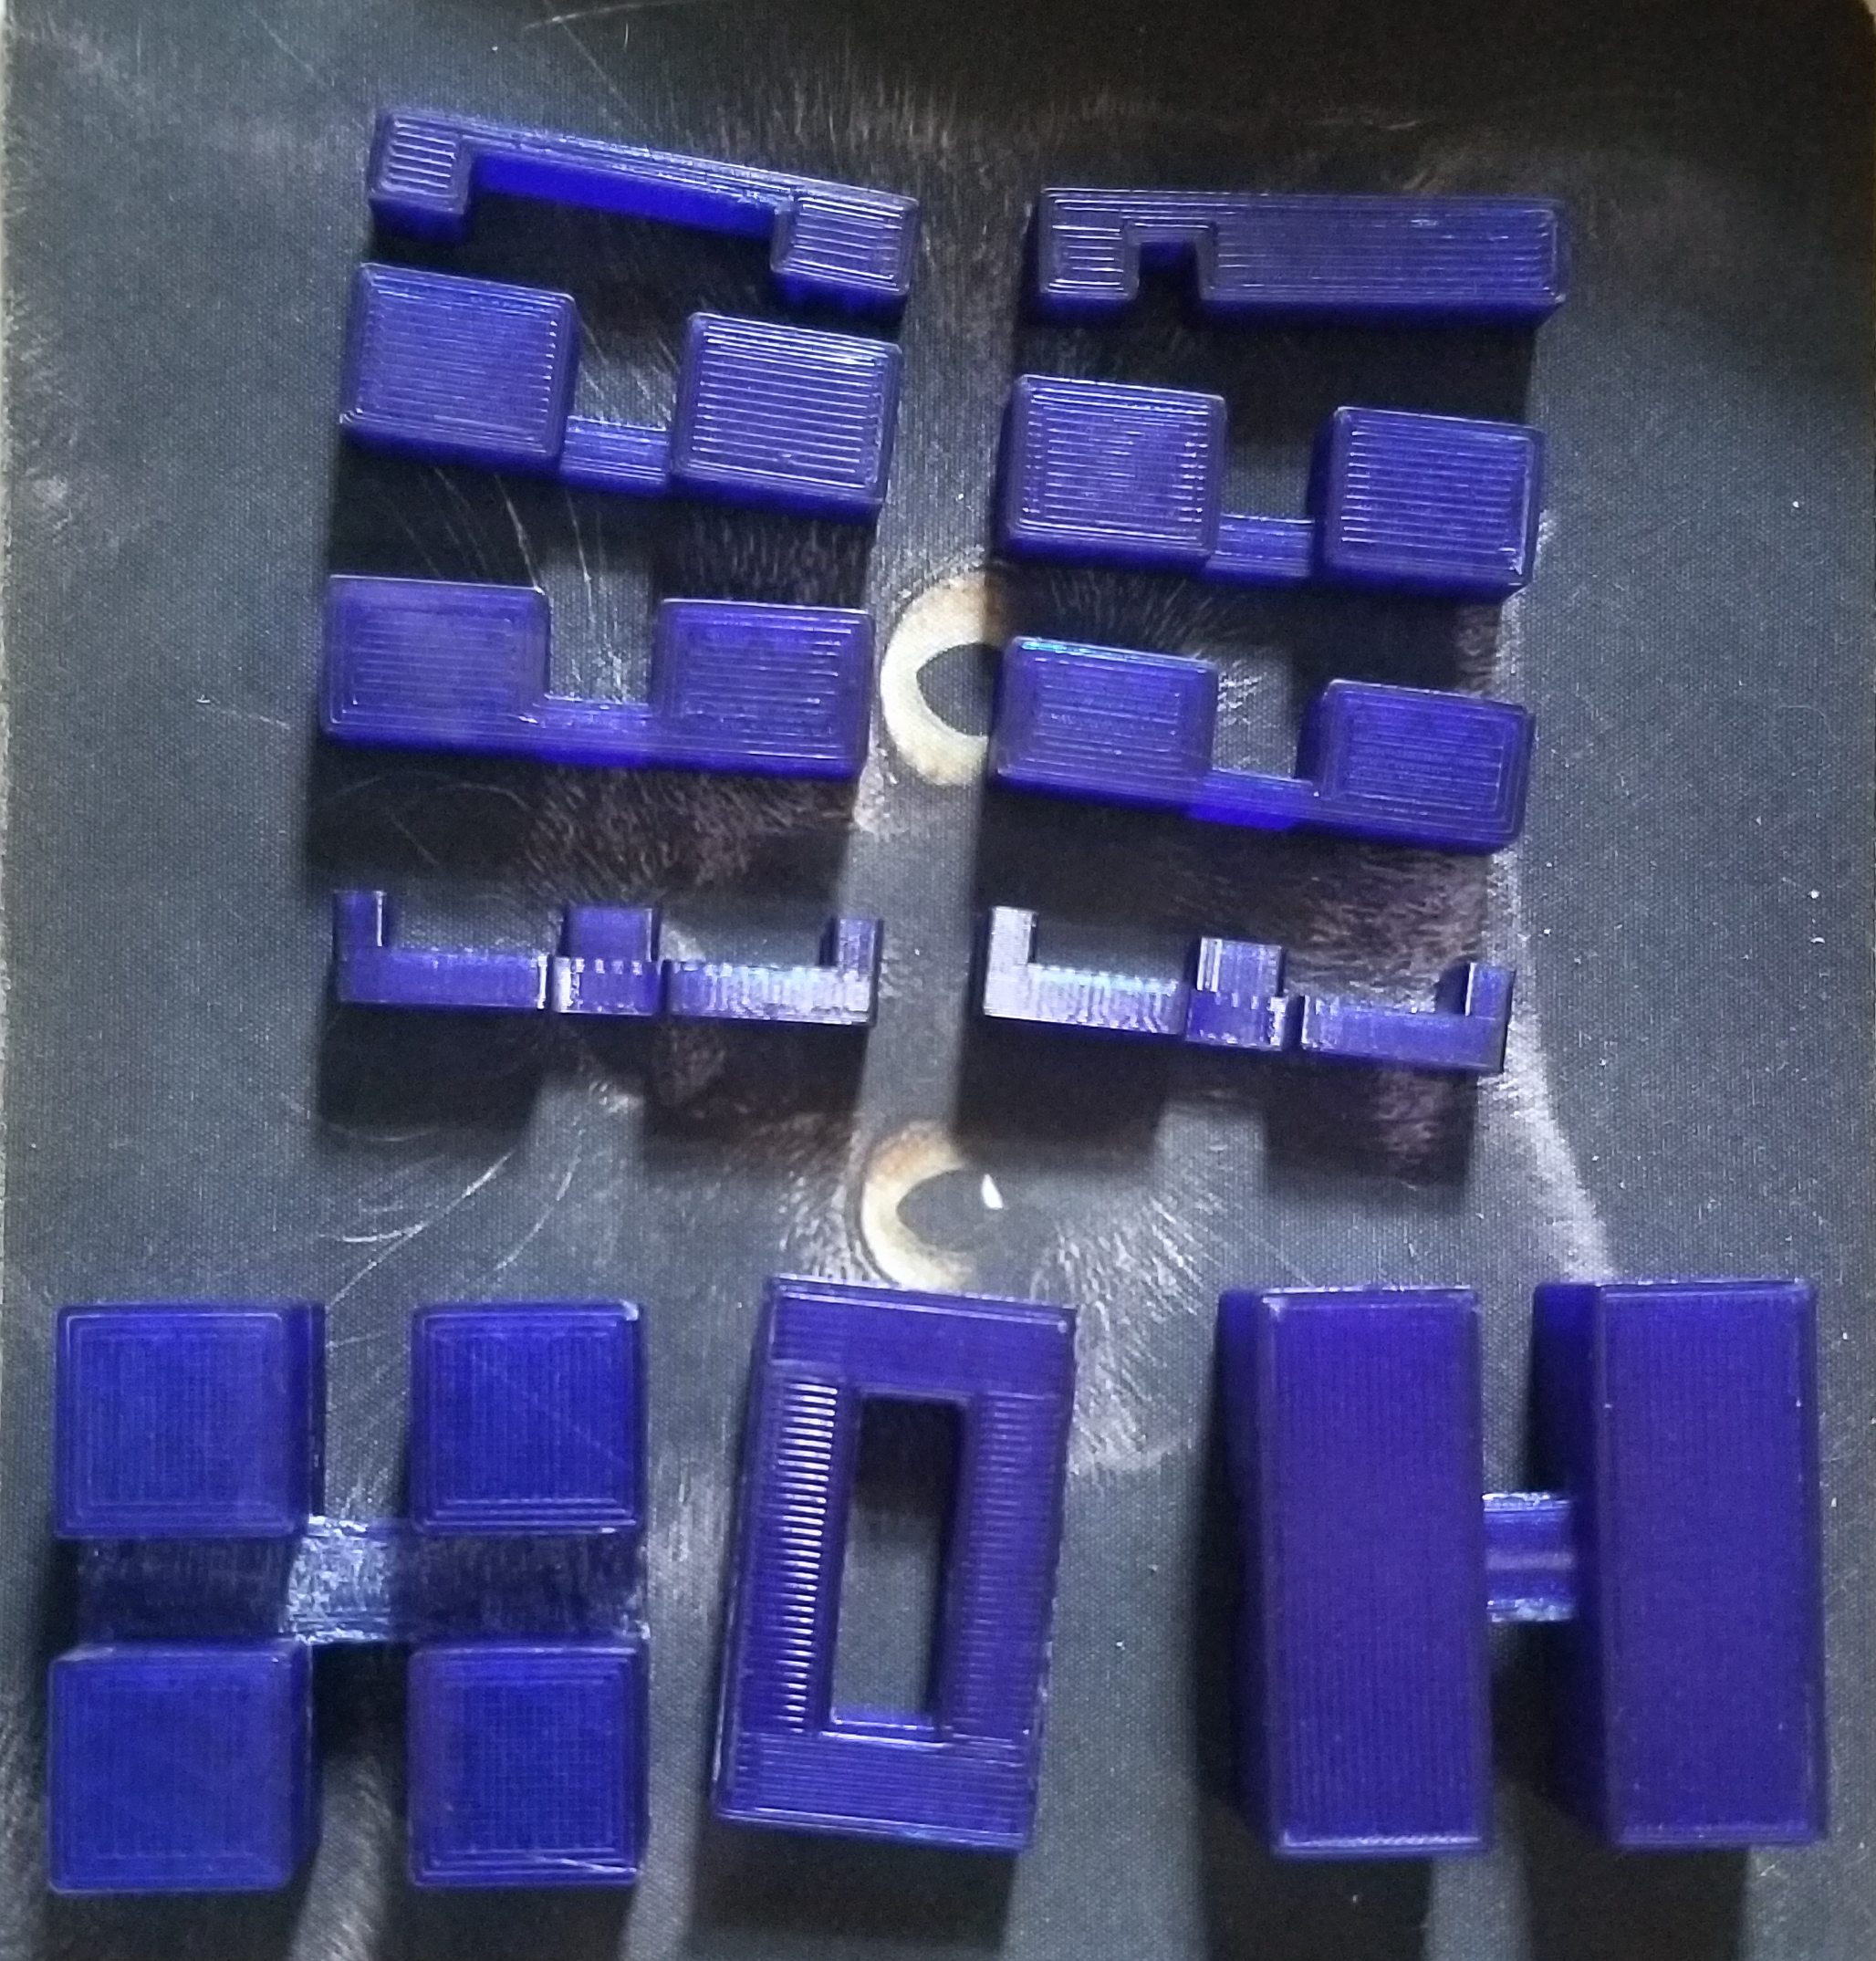
An example of a simpler puzzle disassembled
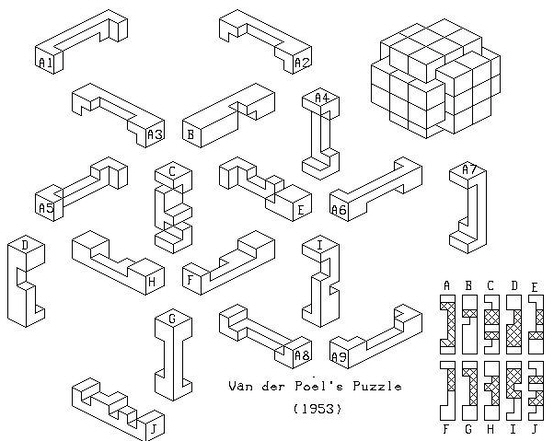
The 'Solution' to the more complex puzzle. (Pink in the previous image.)
Either way enough rambling. Since then I’ve wanted to buy myself a 3D printer. But at the time. I was a high school student who didn’t have the funds they could spare. As everything was being saved to pay for college. So that had to wait.
Choosing a Printer
But that was then and this is now. And I have a bit of spending money. But deciding what printer was the next matter.
Requirements
Unfortunately, I had a few requirements. Many of which are a result of my current living situation. Which is relatively space-constrained. So right off the bat, I needed something small and compact.
Beyond that, my requirements were rather broad. Those being that it’s a decent volume, a cheap price, and wouldn’t be a complete piece of garbage. The logic being that I really don’t want to go all out just yet as I wasn’t entirely sure I would want to continue it as a hobby. I also didn’t want something that would require me to go out and buy 20 things in order for it to give me a simple print.
A couple of other things I wanted were features that didn’t exist on the printer I first used. Mostly being Automatic Bed Leveling. Just for the convenience.
Options
So with the requirements decided which one would I get? Well. I looked into quite a few actually with the list below detailing some I considered as well as notes.
| Printer | Price | Bed Volume | “Desk” Space | Auto Bed Leveling |
|---|---|---|---|---|
| Monoprice Mini Select | $200 | 120mm x 120mm x 120mm | ~430mm x ~360mm | ❓ Depends (V2 Maybe?) |
| Monoprice Mini Delta | $179 | r55mm x 120mm | ~304.8mm x ~304.8mm | ✔️ Yes |
| Bambu Lab A1 Mini | $249 | 180mm x 180mm x 180mm | 347mm x 314mm | ✔️ Yes (Plus More) |
| Ender 3 V3 KE | $329 | 220mm x 220mm x 240mm | 433mm x 366mm | ✔️ Yes |
| Ender 3 V3 SE | $249 | 220mm x 220mm x 250mm | 349mm x 364mm | ✔️ Yes |
| Ender 3 V3 CoreXZ | $349 | 220mm x 220mm x 250mm | 349mm x 364mm | ✔️ Yes |
| Ender 3 V2 | $209 | 220mm x 220mm x 250mm | 475mm x 470mm | ❌ No |
| Kingroon KP3S 3.0 | $179 | 180mm x 180mm x 180mm | 390mm x 370mm | ❌ No |
Table Notes:
- Desk Size found based on shipping size and presumed packing. Unless found otherwise posted.
- If available Tom’s Hardware was used to find functionality/sizing. Please consult other sources as well when performing your research.
Thought Process on Selection
If I boil it right down to what was most important for me it was the amount of deskspace it took up. But there’s another thing to consider when you’re looking at that. And that is most of the beds on these printers can move outside of the footprint they may take up. Meaning you not only need the space to have the thing sit. But also the space for it to move. And given my space constraints that only left the Mini Delta.
Another box it ticked for me was the auto bed leveling. And the fact that, at least according to my research, minimal servicing was needed to make it print decent things. I also was able to find it for $169 shipped before taxes. Making it the cheapest option that met most of my requirements.
Unfortunately the one requirement it only sort of meets is bed size. At a diameter of 110mm by 120mm it isn’t exactly large. And that’s a circle. If I wanted to print the largest square possible the max I can do is a little more than 77mm. But it fits most of my requirements. And while the bed space is small I think it will be workable for some smaller projects. Some more superglue will just have to be involved.
Modeling Software
With the printer chosen and ordered then began the wait. And the perfect time to start to figure out which software to use. And at this point the option I’ll be going with is FreeCAD.
Addendem
Most of the below opinions and thoughts on FreeCAD is now hilariously out of date. Due to most of it being written mostly in June. And with the release of FreeCAD 1.0 may not be valid. Having not installed it yet. I can’t really say for sure though I do know that there is a default assembly workbench which is great.
Either way back to the original post.
Free. What a Great Price!
There are a couple of reasons for this. And one of which is that it’s free. But that’s not the whole thing. So I originally learned CAD in high school as part of an “engineering” class. In that class, we used Autodesk Inventor. And I explicitly remember, even though it’s been a minute, that I planned to buy it when I could and had a printer. Sure it was expensive, and holy smokes was it, but I was familiar with it. And I thought it would be a one-time purchase.
Unfortunately the same year I had this thought happened to be the first year Autodesk stopped doing perpetual licenses. Meaning that if you wanted it you had to subscribe to it. And I’m not sure if they were the first but all the others seemed to start following suit. And while some of them have hobby levels you can rent for cheaper you are kind of at their whim regardless. So given I was going to have to learn a new piece of software I figured I’d go with the free and Open Source option.
And hey. As of writing this, they have even announced a feature freeze in order to prepare for the release of 1.0. Which is even better. I think I might even donate a bit at some point. We’ll see what happens.
Learning Software
Now I’m no expert. And I’m not going to drone on about how to use FreeCAD. But I will say after learning the different naming conventions I’ve not run into much of an issue. That’s likely because I was never an advanced user of Inventor or any other CAD software but it works so far. I haven’t even run into the dreaded Topological naming problem. However, that’s also something that’s expected to be fixed in 1.0. (Side note. The implementation for the fix to that problem has been activated in the 0.22 weekly builds for the week of June 19th. However, I am not using weekly builds at this point.)
To learn it at a basic level I decided to remodel one of the puzzles I printed in High School figuring they were both simple enough and complex enough for me to learn at least the basic features. And after a couple of hiccups. I did get it to work. I even got it so that I could change some dimensions using a spreadsheet.
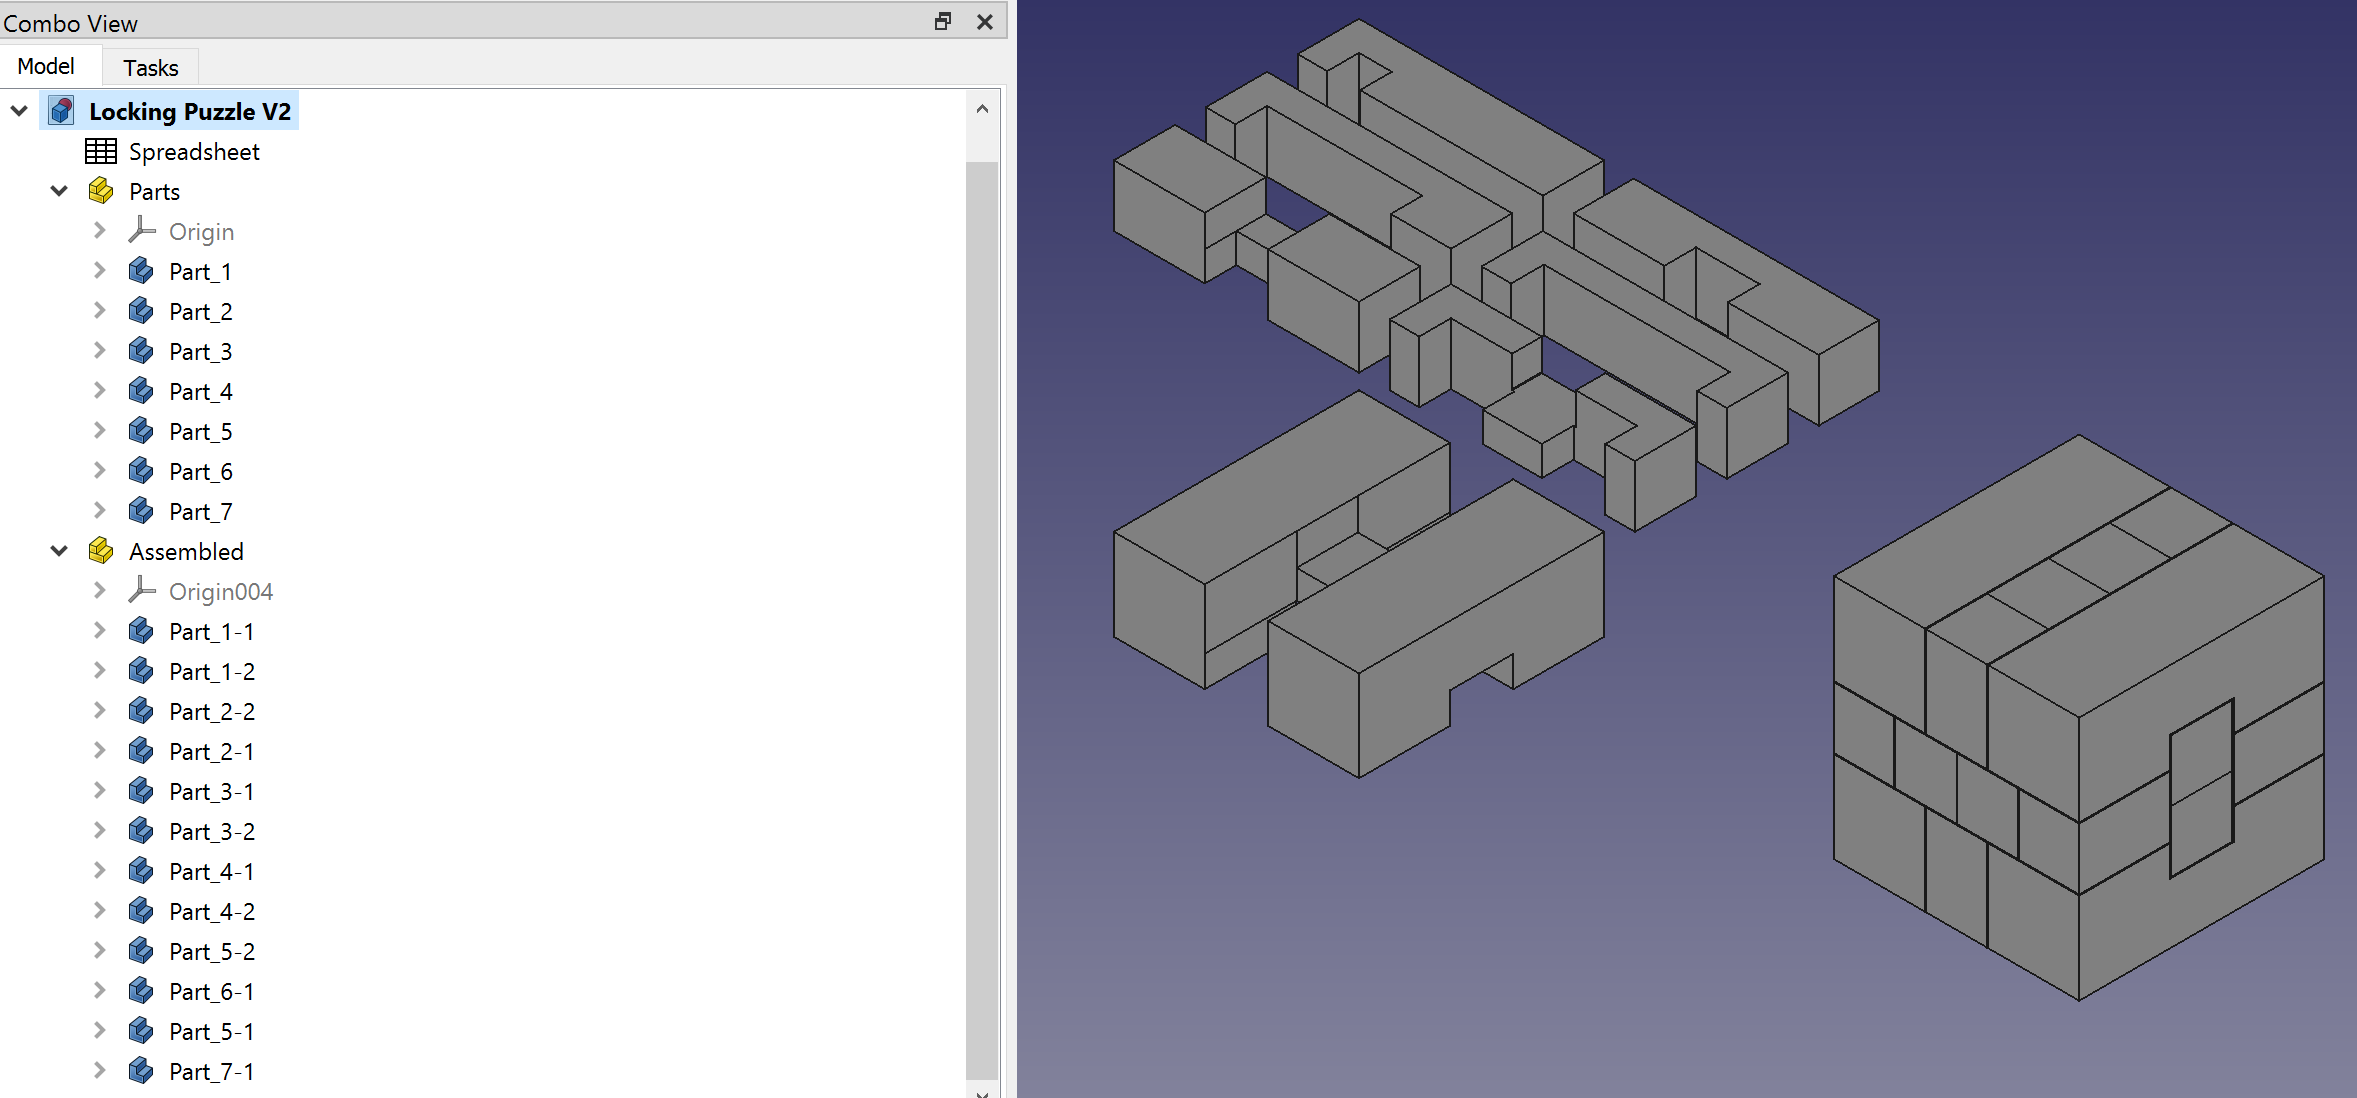
Screenshot from FreeCAD with Puzzle Pieces and Assembly.
There was one thing that initially surprised me. And that was the fact that FreeCAD itself does not have a way of creating assemblies by default. I had made use of Inventor Previously in order to make the solved model of the puzzle. In order to do that you need to install a plugin.
And there’s actually a couple to choose from. But not wanting to install plugins just yet. I ended up simply using transformations and rotations based on some predefined measurements to create the assembly. Doing this I ended up also making use of the clone feature. Allowing me to still change the original modeled pieces and see the effect on the solved puzzle.
Now To Get Printing
Once I got the printer I ended up doing a single test print before proceeding. A “cat” ring that is on the SD card when you buy it. And it worked without anything screwy going on. So with that, I felt comfortable proceeding to the next step of my plan. Connecting the printer to Octoprint.
Octoprint OH THE POWER!
Now Octoprint is a very nice piece of software that allows you to control your printer remotely. More importantly, reducing the need to use sneaker net and that SD card in order to print things.
I thought it was going to be simple. I’d create a VM on Proxmox, pass through the Printer as a USB device, install Octoprint and I’d be off to the races. Unfortunately, that was not the case. Octoprint kept failing to connect.
Initially, in my search, I thought it was a common issue with Monoprice Printers and that being that the CH341 driver needed to be updated. Which is apparently a common issue. But after fighting with that due to a couple of different issues it still didn’t work. (Instructions can be found here)
And this is where it took the longest time. Unfortunately, it appears that the Monoprice Mini V2 specifically does some “nonstandard” (in comparison to most printers) serial handshake. Requiring you to modify Octoprint. And I only found this because WEEDO did this on their “own” printers. The WEEDO x40 also requires this modification. Unfortunately I never found instructions specifically for the Mini Delta V2. But the instructions for the X40 work. My copy of the instructions can be found below. Mostly because I do not fully trust them to not disappear into the wind.
But it took quite a bit of research to find that.
First Prints Away! - Or are they?
With Octoprint set up, I began to do some printing as seen below.
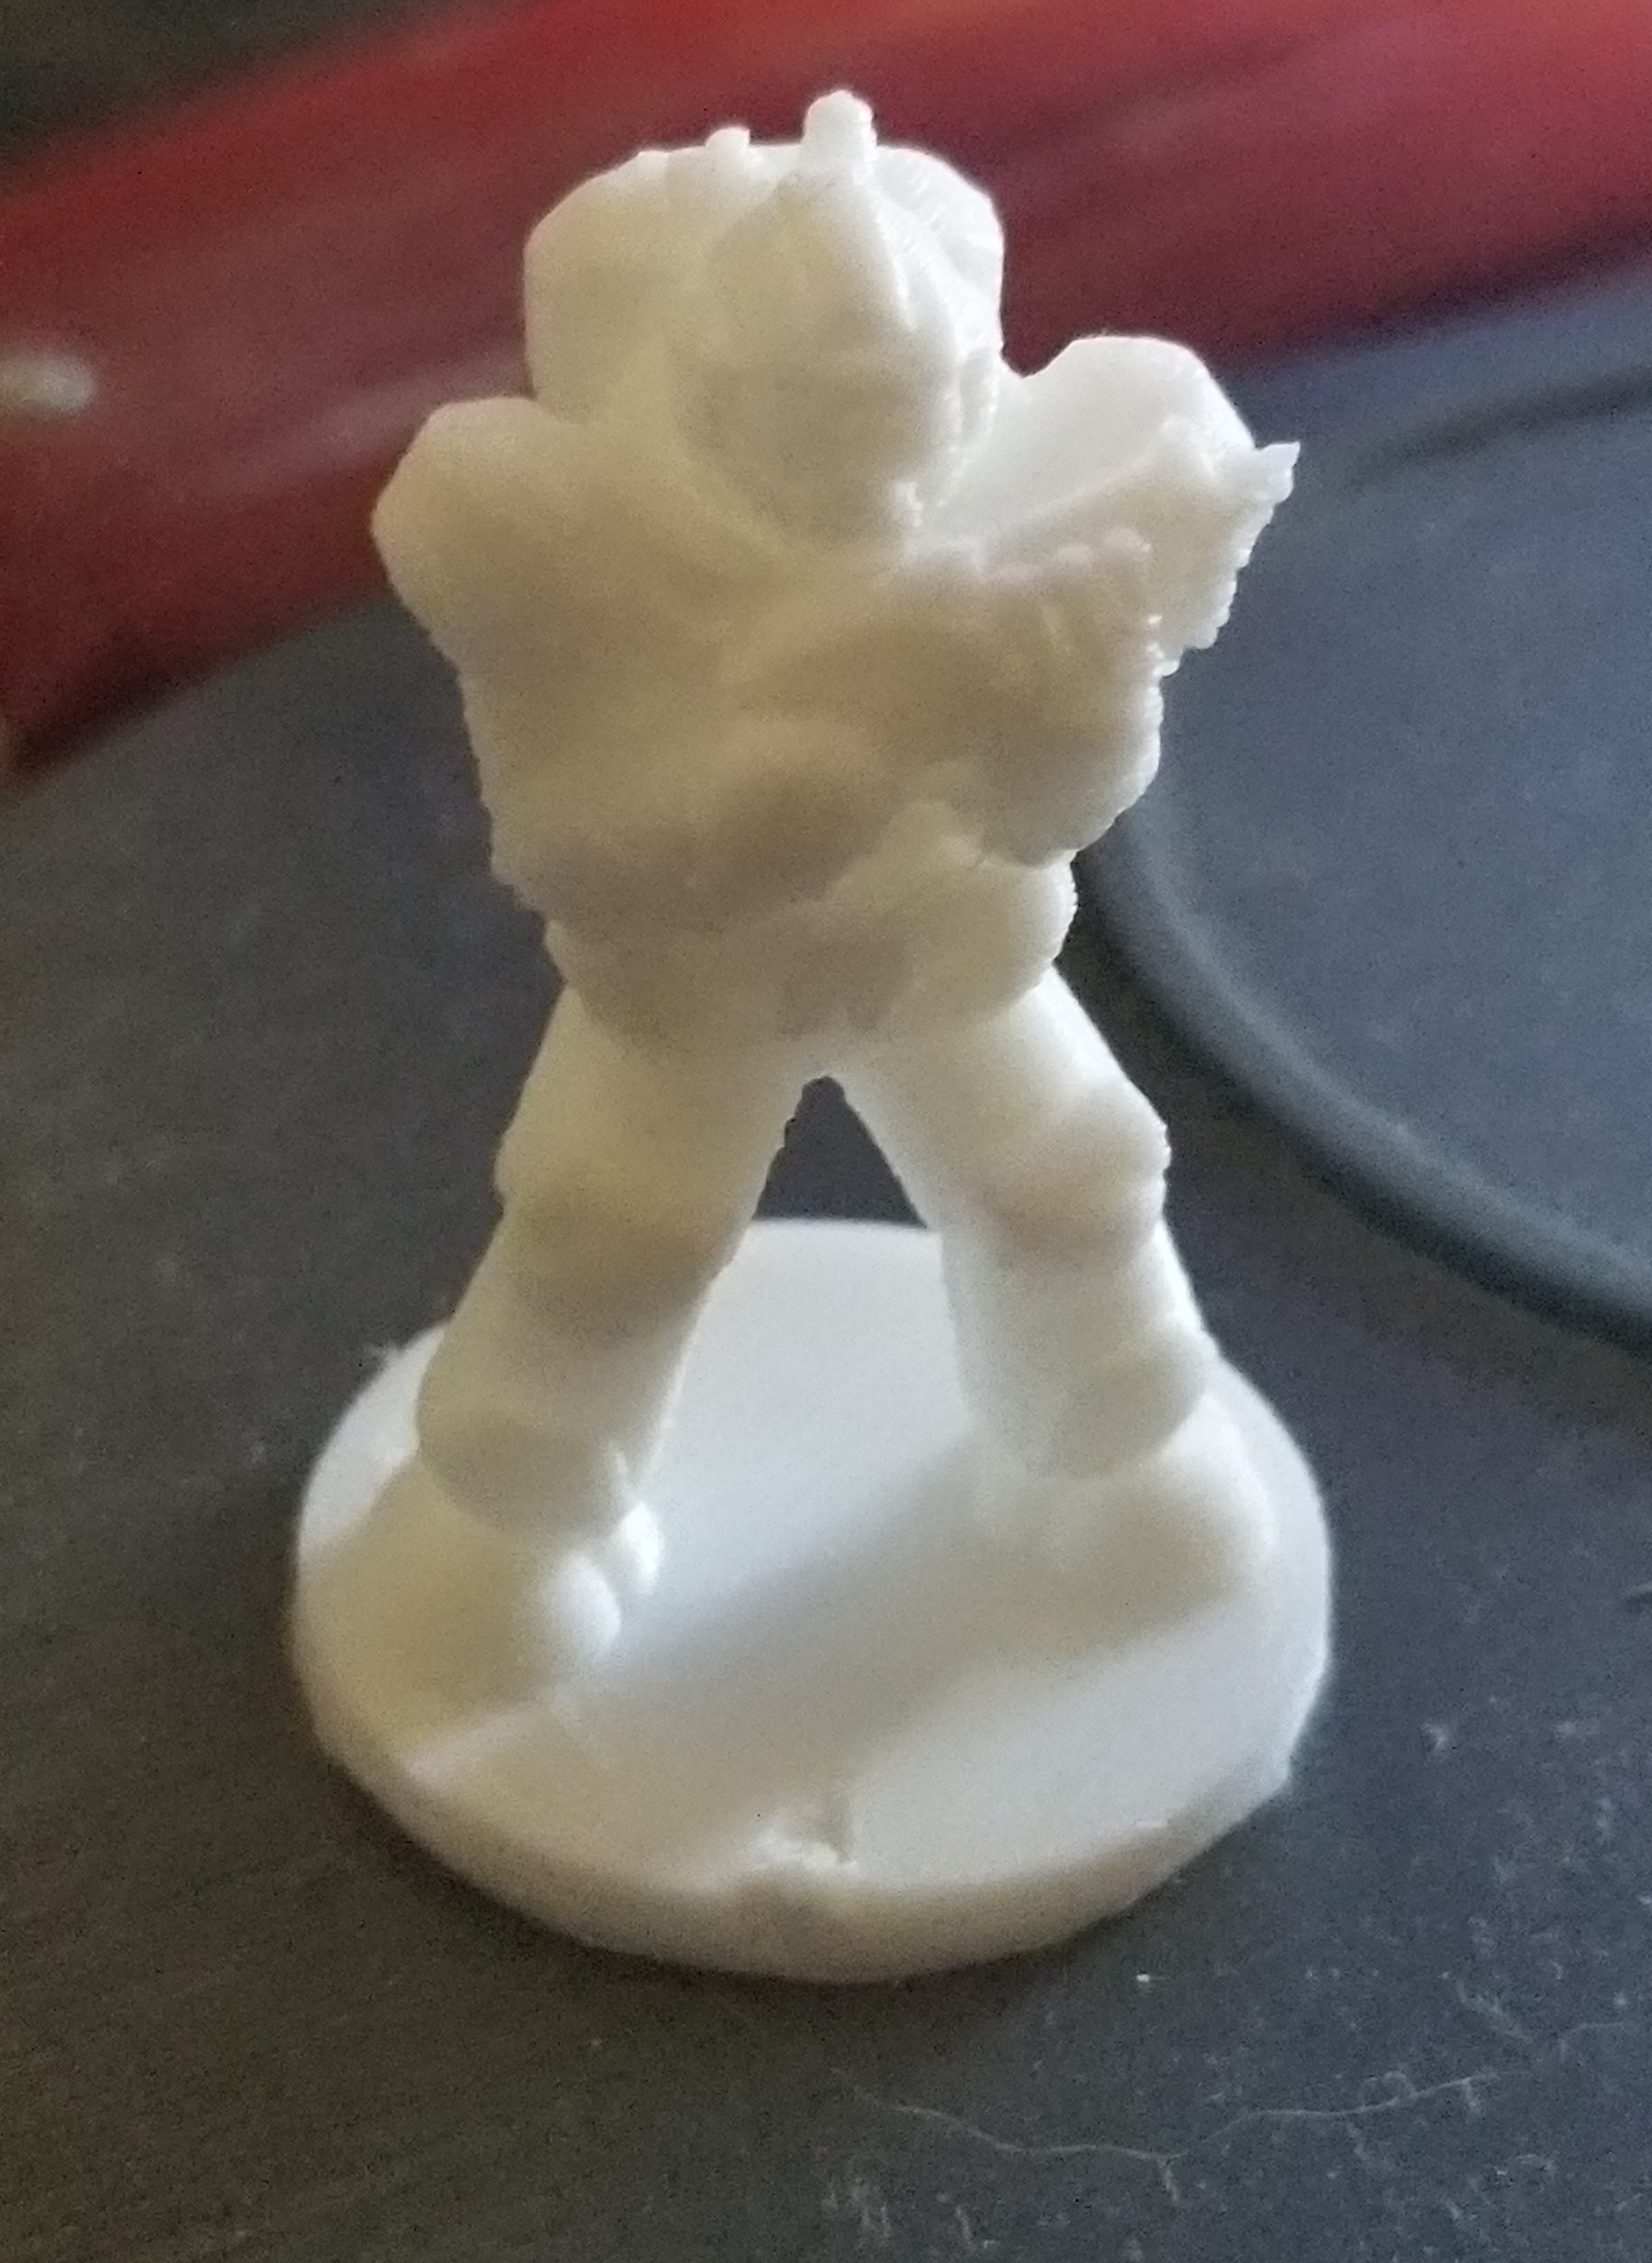
Soldier Mini Test Print (In shadow)
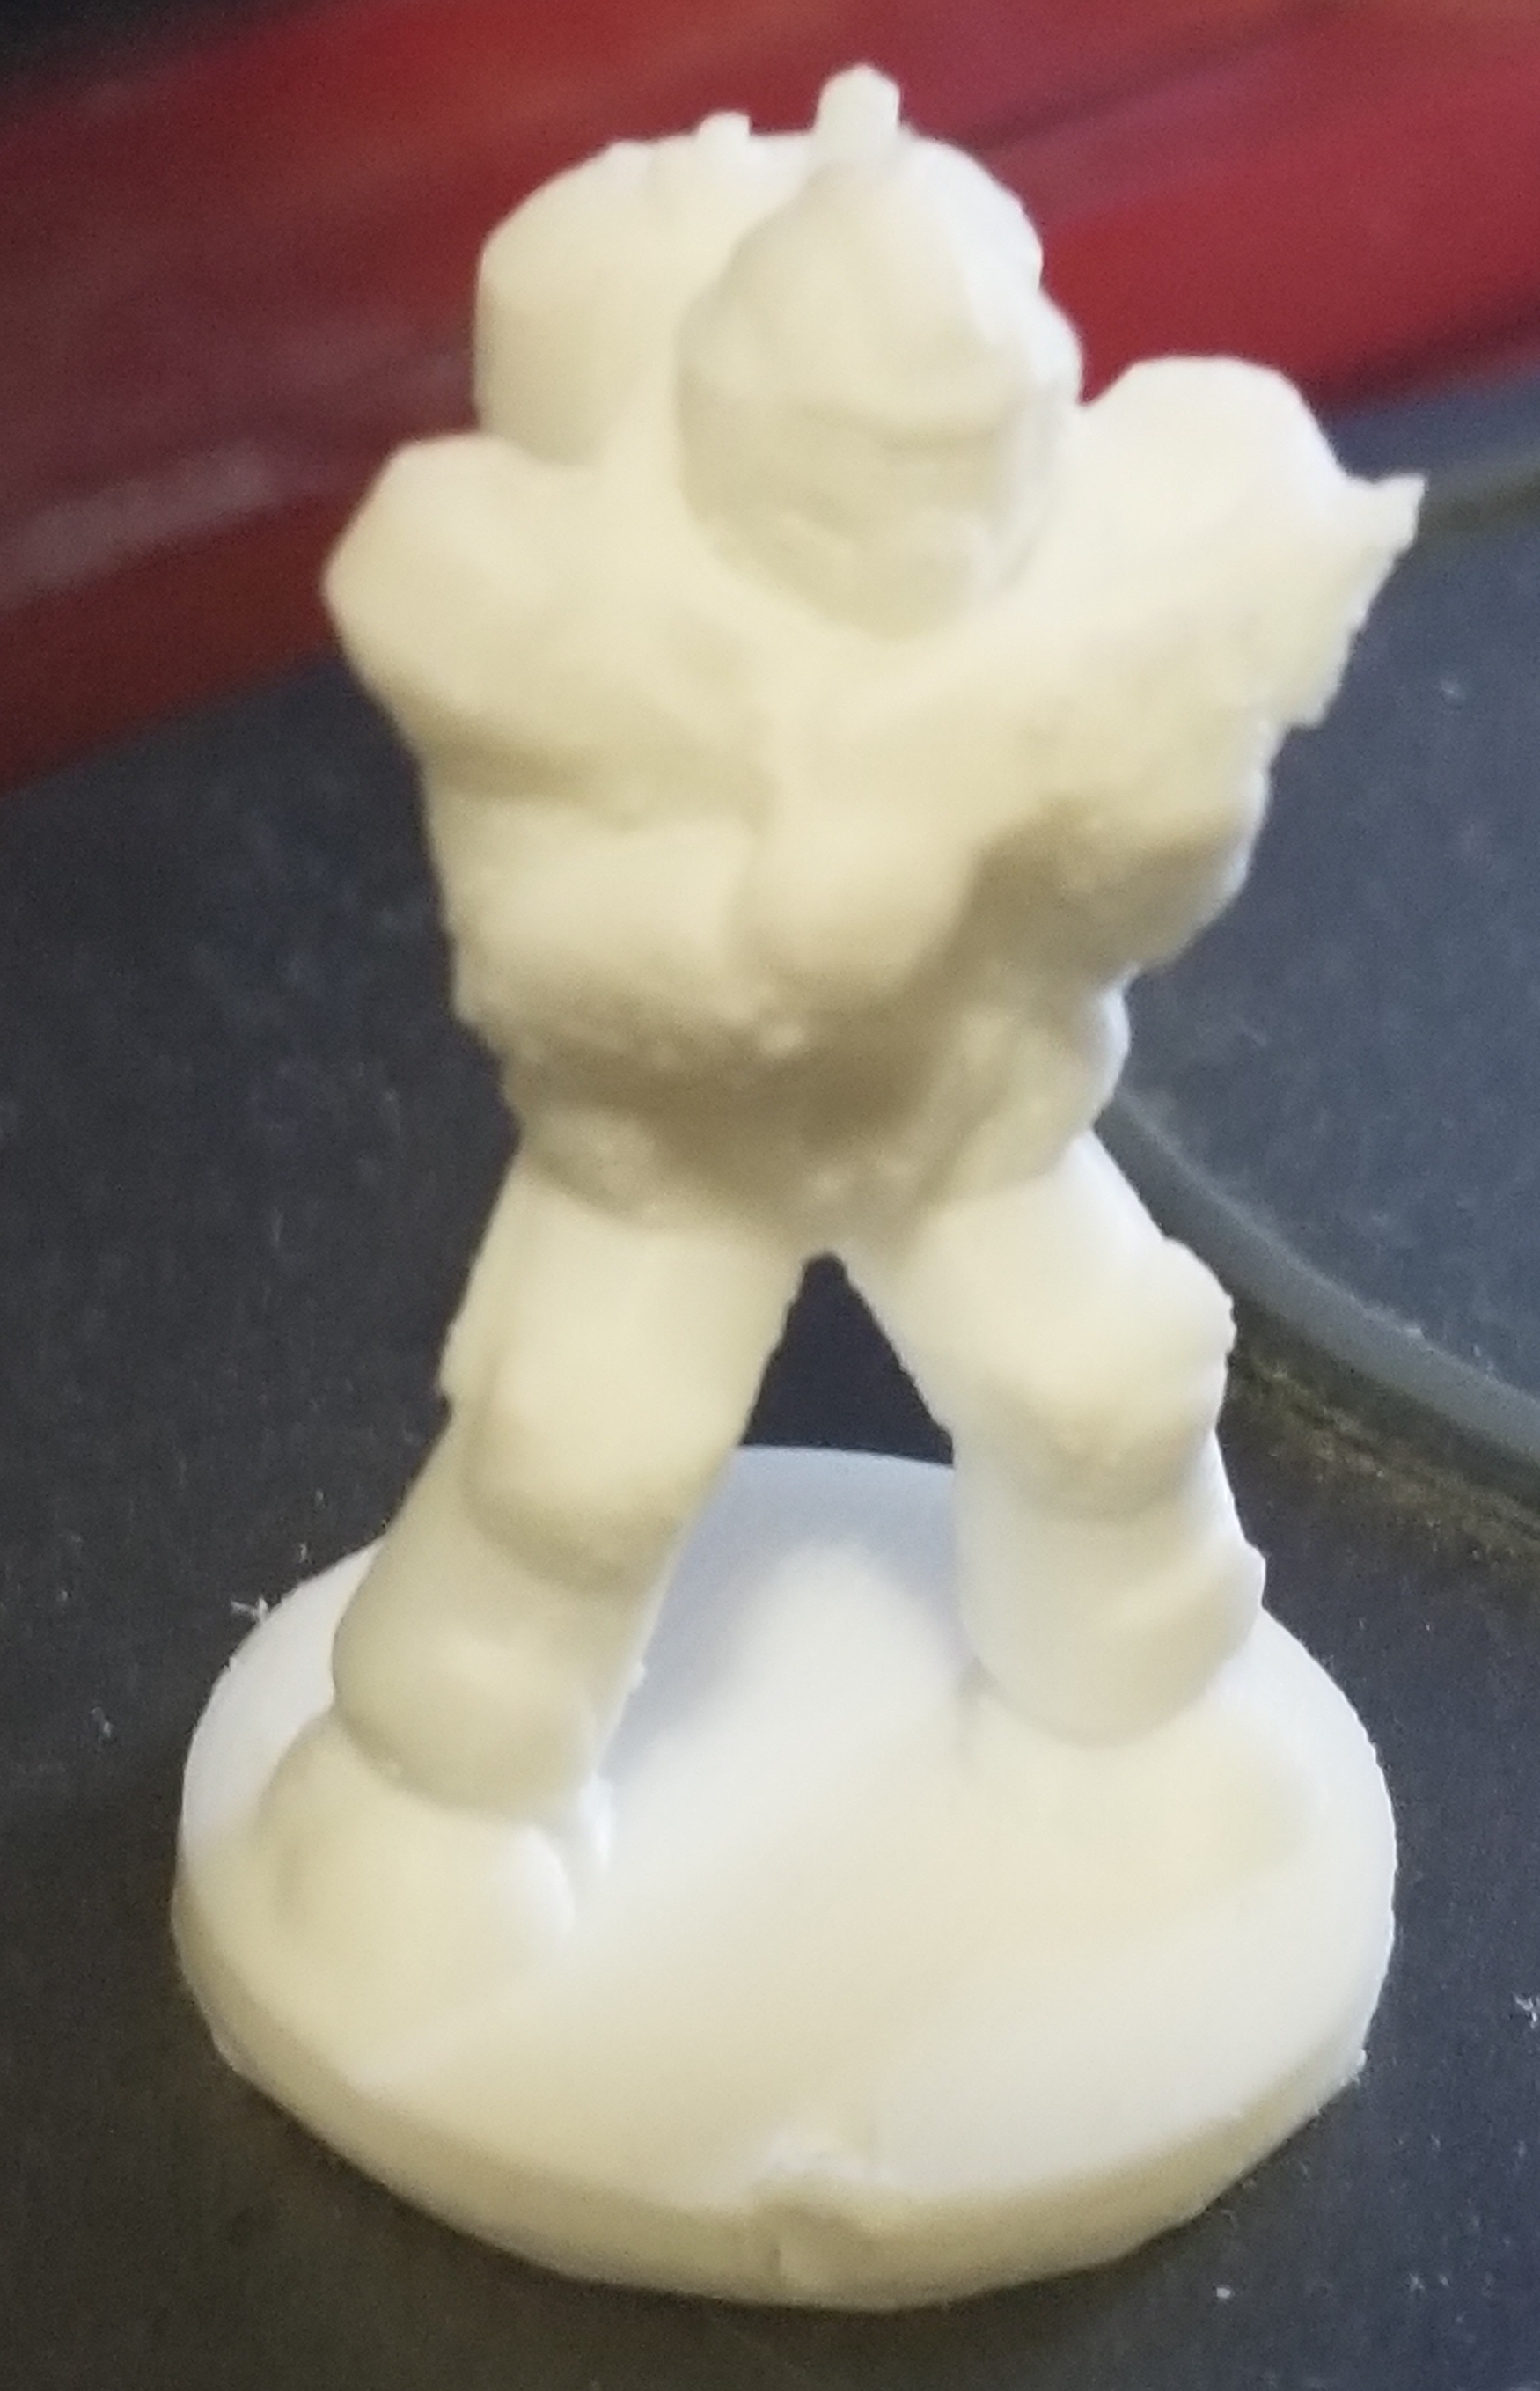
Soldier Mini Test Print (In more direct light)
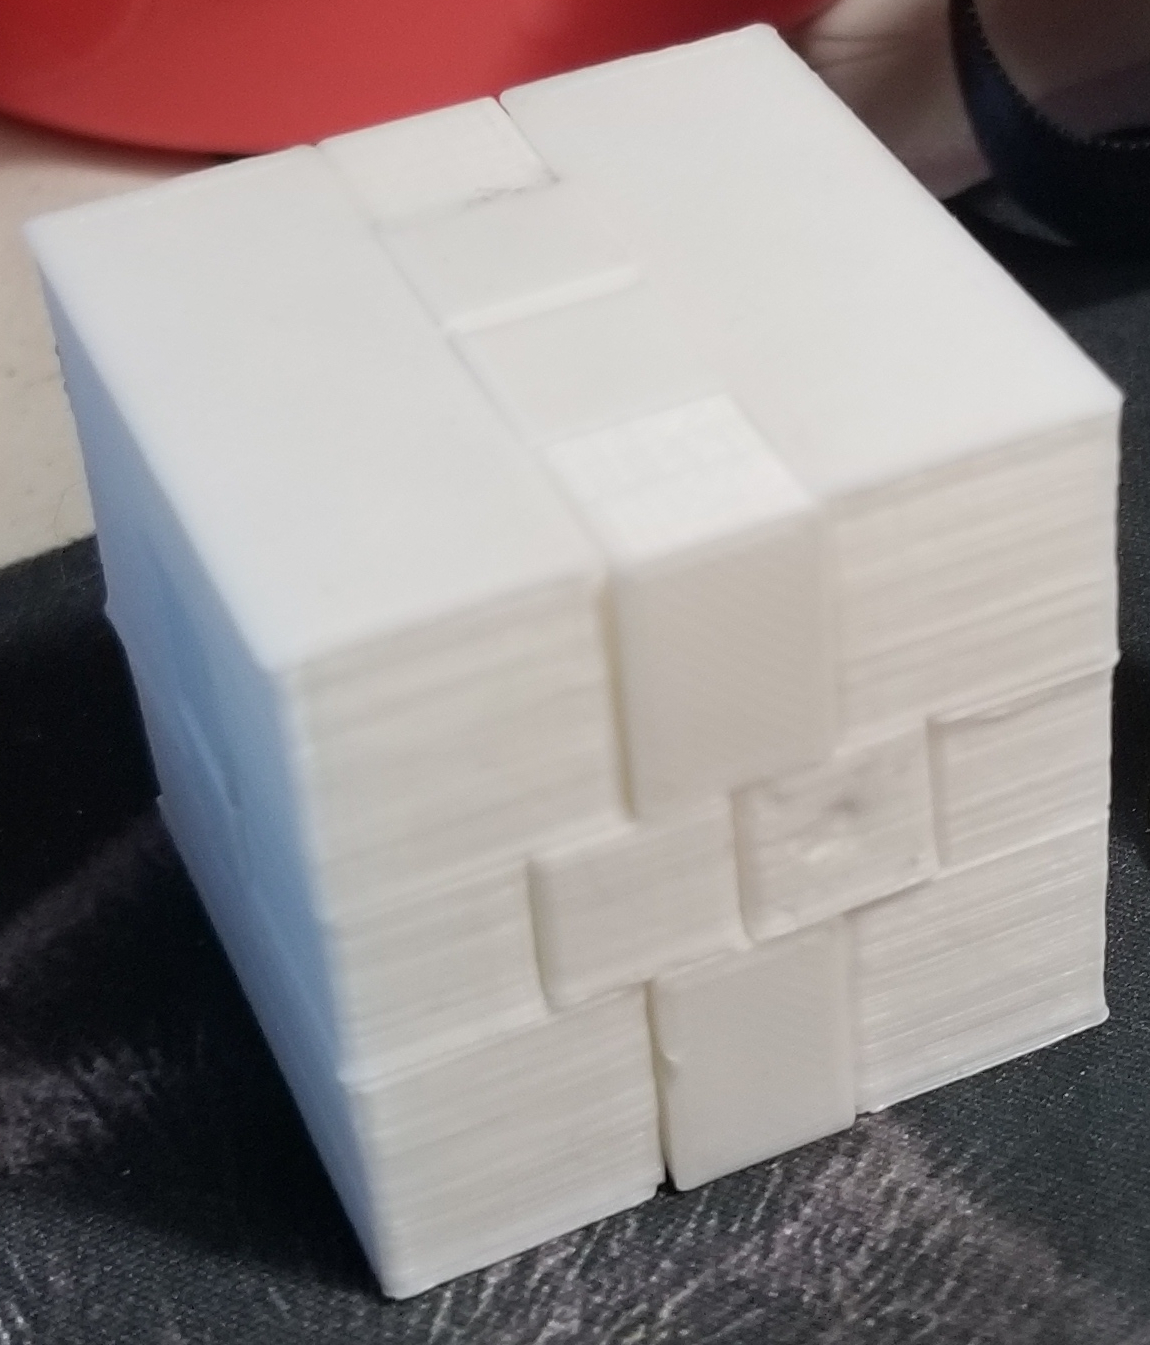
Cube Puzzle
Unfortunately, though it wasn’t as simple as just hitting print. Which was to be expected. What is not pictured is the numerous failed prints and test prints. Some of which one of my cats has taken to stealing off my desk. But lucky enough I am not the first to be working with this printer. And while there seems to be a bigger community around the V1 the V2 has quite a few of the same issues.
My main problem for me is the fact that this community mostly seems to exist within a Facebook group. Which I can’t access because Meta has apparently determined I’m impersonating myself. And to protect myself from myself they deactivate any meta account I attempt to create. Luckily though someone was nice enough to create a complication of many of the more common issues and posted it within the subreddit of all places. Somewhere I can access it.
And making use of these I was able to get some generally consistent results. Specifically, I ended up needing to create some clips that the FAQ/Help document recommended. Which fixed layer shifting. The only other major issues I’ve been having has been first-layer issues caused by a rather warped bed. Which I’ve been solving mostly by trial and error. A better solution would likely be to be using rafts. But I really don’t want to deal with removing those later at this point.
Final Notes
Overall I’m happy with it. I’ve even bought another printer at the Midwest RepRap Festival (MRRF). Which I ended up fixing using the Delta to create a stop-gap measure for a snapped belt and a replacement end cap used to tension the very same belt.
Unfortunately, it appears that I may be using the second printer to fix the Delta now. How fitting.
With that said though here I will be including a list of links. Unfortunately, I didn’t keep the best notes for some of these. But I feel like these could be useful for others, or myself for that matter, that may happen onto this post later with the same printer. Either way. Thanks for reading and here they are.
“Random” Links
- Evidence of it failing to connect over USB (Reddit Post)
- Evidence that connecting over USB should be possible (Reddit Post)
- Calibration Roadmap
- Notice of Firmware Update (Reddit Post)
- Notes on Web API that the Delta V2 has. (Github Gist)
- Mods/fixes (Github)
- Updated Firmware files (Dropbox)
- Printer Firmware Github (Note may not work)
Instructions/Links
Below are a series of instructions that may prove useful as well as a couple of links that may provide more information if issues arise.
CH340/CH341/CH34X Driver Instructions
Reason To Use These Instructions
The printer is plugged in. But does not appear under /dev/ttyUSB0 or /dev/ttyACM0. May also help with general communication issues.
Links
- Following Instructions Derived From these for the Rasberry Pi and the X40 Printer
- https://www.weedo3dprinter.com/doku.php/x40/updatech340
- Originally linked in this Reddit post.
- WARNING: Links leading to
mpminideltav2.comno longer lead to a wiki. And will lead you no where safe as of writing this. If you want to attempt to use those links attempt to view them through the Way Back Machine. Here is a link to the wiki on the Way Back Machine - This community post on Octoprint’s site attempts to lead you to a similar tutorial with the same issue as above.
- WARNING: Links leading to
- Source Code Used
- The Source Code Provided in the Original Instructions did not compile without errors. This seems to compile without those errors.
- https://github.com/juliagoda/CH341SER
Instructions
MAKE A BACKUP BEFORE PROCEEDING These instructions have also only been tested on Ubuntu and Debian. You have been warned.
- Delete the original Driver
- This should be found at
/lib/modules/(version)/kernal/drivers/usb/serial/ch341.ko. For me, it was/lib/modules/5.4.0-189-generic/kernal/drivers/usb/serial/ch341.ko.
- This should be found at
- Install
build-essentials- Using the command
sudo apt install build-essentialinstall the tools needed to compile the driver.
- Using the command
- Install
gitsudo apt install git
- Install Linux headers files
- This can be done with
sudo apt install linux-headers-$(uname -r). - If you prefer to not use
unameto get the correct name. You can replace$(uname -r)with the value of(version)found in the first step.
- This can be done with
- Clone the GitHub Repository
git clone https://github.com/juliagoda/CH341SER.git
- Compile the new Driver by navigating into
CH341SERand then runningmake.cd CH341SER; make
- Move the driver into position and install it.
makecreates a file called ch34x.ko. It needs to be moved into the same place the old driver was removed from. So it should be something like/lib/modules/(version)/kernal/drivers/usb/serial/. For me, it was/lib/modules/5.4.0-189-generic/kernal/drivers/usb/serial/.- This can be done using move or by making a copy.
sudo cp ch34x.ko /lib/modules/(version)/kernal/drivers/usb/serial/
- Run
sudo depmodto initialize the drivers. - To check that the driver is installed correctly you can plug in the printer using a USB cable and check for
/dev/ttyUSB0’s existence.
Modify Octoprint to function with Monoprice Mini Delta V2
Reason To Use These Instructions
WEEDO 3D printers and 3D printers that make use of WEEDO 3D printer boards need this modification in order to allow Octoprint to connect. They do provide their own “version” of Octoprint but I will not advise you to trust it. Especially with how simple the modification is.
Links
- Original Instructions for WEEDO X40 3D Printer - https://www.weedo3dprinter.com/doku.php/tina2/octoprint
Reference Images
Before Octoprint Modification
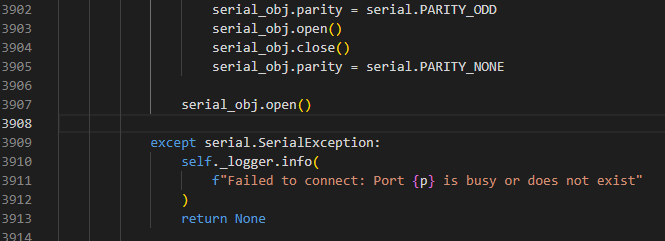
After Octoprint Modification
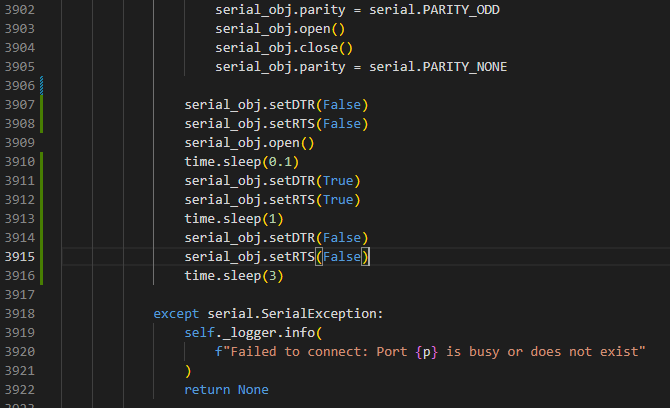
Code Reference
#set default
serial_obj.setDTR(False)
serial_obj.setRTS(False)
serial_obj.open() # Line 3907 of the original source.
# force reboot printer
time.sleep(0.1)
serial_obj.setDTR(True)
serial_obj.setRTS(True)
time.sleep(1)
serial_obj.setDTR(False)
serial_obj.setRTS(False)
# wait
time.sleep(3)
Instructions
MAKE A BACKUP BEFORE PROCEEDING These instructions have also only been tested on Ubuntu and Debian. You have been warned.
NOTE: These instructions are also assuming you have already installed Octoprint.
- Find where
comm.pyis for your Octoprint install.- For me using octoprint_deploy to install Octoprint
comm.pycan be found at~/OctoPrint/lib/python3.8/site-packages/octoprint/util/comm.py. - The
python3.8in the path is based on the current version of Python that Octoprint is installed with. It may be different in the future.
- For me using octoprint_deploy to install Octoprint
- Modify
comm.py- This modification takes place around line 3907. As of August 25th this is when Octoprint opens the serial connection.
- Using the before octoprint modification reference image find the current source code.
- Make the modifications seen in after octoprint modification. The modified code and the reasons for it are referenced in the code reference.
- Reboot your Octoprint instance in order to load the new source code.