Setup And Installation Of Venus 1500 Notes
For those who missed the last post. The writing and publishing of the previous post was delayed. So this post intended for April 15th was also delayed. I plan on being back on schedule for the May 15th post. See ya then.
Well, here we are again. Another month another post. Except this time it isn’t a project as much as it will be a repository of some information that I would like to share. So this isn’t going to be a single-flowing article.
A couple of months ago, I was asked if I could look at an electric sign and see if I could get it working. This was after they had already called the help desk and gotten nowhere. However, they were able to determine their USB to RS-232 adapter was working. So I was asked if I could assist and do some digging. And those efforts bore fruit this time. So with that in mind, this post exists as a cleaner form of the notes I took while doing that.
Links To Resources Used
- Venus 1500 V4 Download
- Microsoft SQL Server 2014 Service Pack 3 Express Download
- Manual Installation of Microsoft SQL 2014 for Venus 1500 Software
- Galaxy Outdoor Series AF-3190 Manual
- Venus 1500 Radio Manual - Gen 2
Table of Contents
- Determine Sign Model And Information
- SQL Express 2014 Installation
- Venus 1500 Installation Notes
- Connecting Venus 1500 to the Sign
Determine Sign Make and Model
The information below was derived from the Galaxy Outdoor Series AF-3190 Manual.
- Turn off the sign.
- Wait at least 30 seconds (allow the sign to fully turn off) and turn it back on.
- Record the next 16 lines of text that the sign provides you. They provide the following information in order. Example values are in parentheses.
- Product Name (Galaxy®)
- Display Size (Row x Column)
- Shading (64 Mono)
- Bootloader Version (OS X.XX)
- Firmware Number (ED13305)
- Firmware Revision (Rev X.XX)
- Hardware Address (HW:XX)
- Software Address (SW:XX)
- IP Address: ((default) 172.16.192.25)
- Subnet Msk: ((default) Msk: 255.255.0.0)
- COM 1 Configuration (C1:V15) ((Modem C1:V15) If a Modem is present)
- COM 2 Configuration (C2:RTD)
- Socket 3001: (IP 3001: V15)
- Socket 3002: (IP 3002: RTD)
- Line Frequency (CLK: AUTO 60 Hz)
- Display Name Description (Galaxy Row x Column)
- Once the sign has listed the last item it will proceed with displaying the last stored settings. If it is the first time the sign has booted a pixel in the lower right-hand corner will flash to indicate that it is on.
I would recommend writing down this information somewhere you can easily find it later. As it is useful when configuring the sign once you have Venus 1500 installed.
Installation of SQL Express
During testing, it was found that for the most reliable success in the installation of Venus 1500, it is best to manually install SQL Express first. Before attempting to install Venus 1500. Even though the installer for Venus 1500 is supposed to install the SQL Server itself. It appears to fail relatively frequently. (Or at least in my experience of around 20 attempts total.) Official instructions are available here or using the Links to Resources Used section. Follow them as they are written. I did not find any needed changes. Download link for SQL Express 2014 is available at the link or in the Links to Resources Used section.
Installation of Venus 1500
For installing Venus 1500 V4 following the instructions posted on their site is advised and can be found here along with the download for the software. However, I would advise installing the SQL server manually due to some issues with the installer failing to do it on its own.
Beyond that, I have one other piece of advice while going through the install wizard.
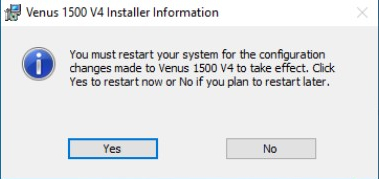
Occasionally, in a dialog I was unable to capture, the install process may ask you to attempt to either restart a service or reboot the PC later. If this option is presented to you I recommend performing a reboot. This is for a couple of reasons. For example. If it fails to restart the service, at least from my testing, it reverts your install process. Whereas if you select the option to restart later it can complete its installation. I would also suggest you manually restart rather than clicking yes in the above dialog.
Connecting with the Sign
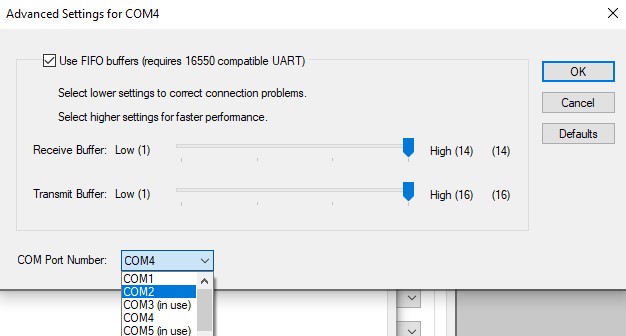
Using the wizard will work just fine for most applications. The one thing I’d like to note is you will need to ensure that the USB to RS232 adapter is assigned to COM1 or COM2. This was the main issue I ran into when assisting with the sign. We could get the program to boot. Everything else worked. But we could not communicate with the sign through RS232. With the adapter not even indicating activity using it’s TX and RX lights.
What appears to be the issue is for some reason Windows 10 does not like to properly use Serial devices with the correct protocal for RS232 on anything other than COM1 or COM2. I actually remembered reading this somewhere. But unfortunately I can’t seem the original source. And attempting to Google it leads to people having problems with the Adapter itself that may or may not be related.
How to Change Port/Check the Port
-
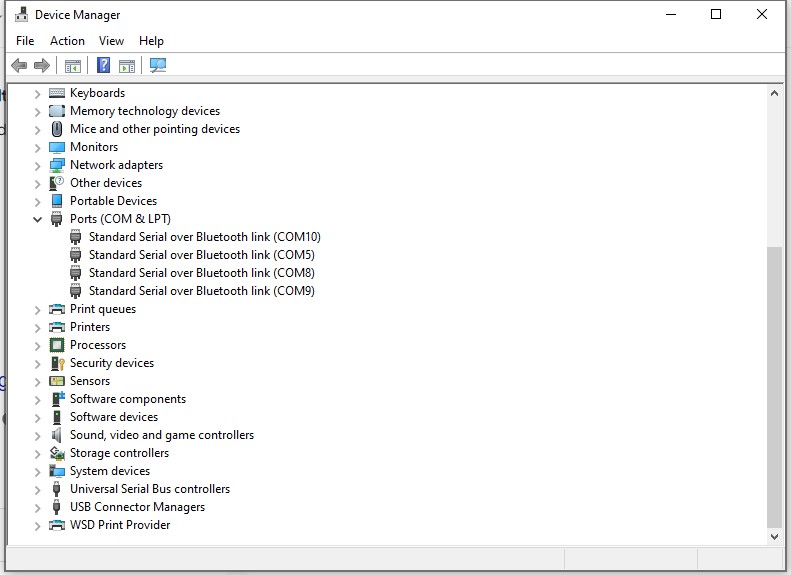
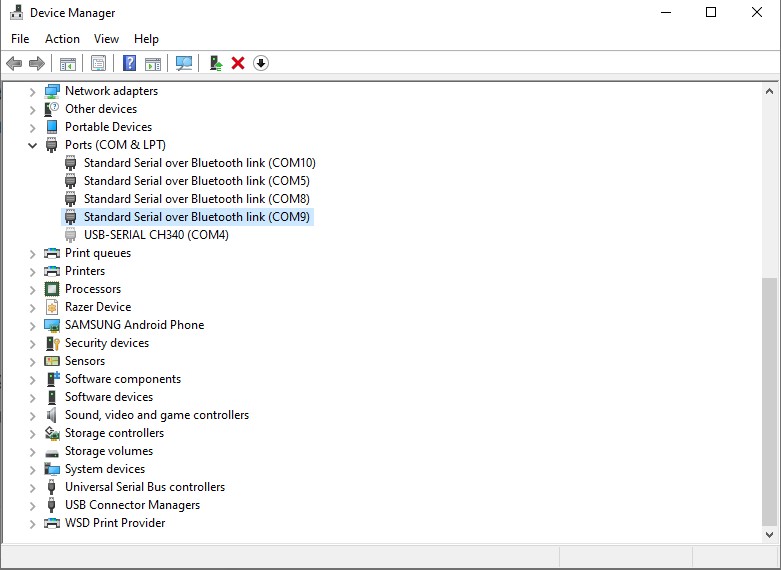
Open the Windows Device Manager and find the Ports list.
- You can get to Windows device Manager by right clicking the Start Menu.
-
Click "Show hidden devices"
- This may not be needed if you already see your device listed.
-
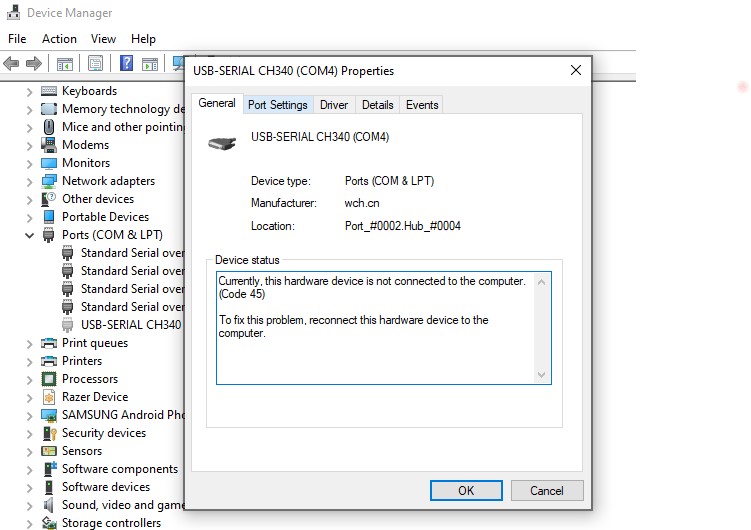
Enter the properties of your device.
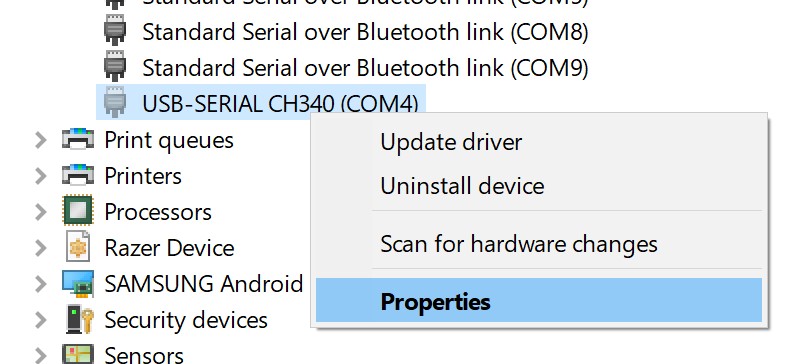
-
Go the "Port Settings" Tab.
-
Click "Advanced"
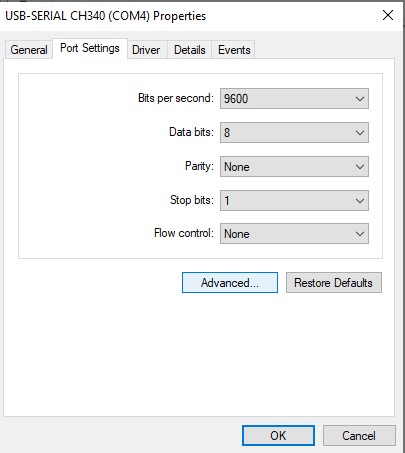
-
Click the "COM Port Number:" dropdown to change the port.
- If your serial adapter is already on COM1 or COM2 then you can stop here.
- If your serial adapter is not on COM1 or COM2 then change it and click OK.
- If COM1 or COM2 have a "(in use)" beside them you will need to determine which device is on it and change it first. Using the steps above.